

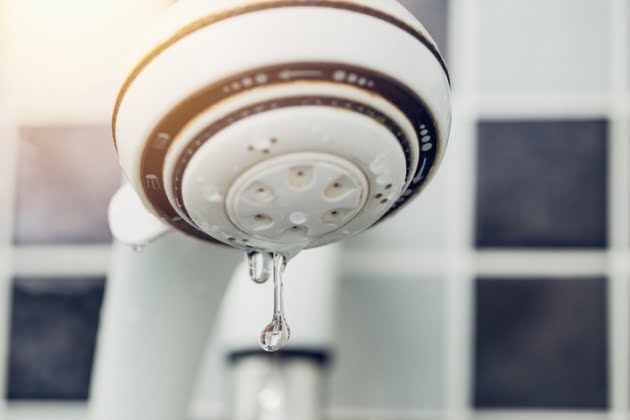
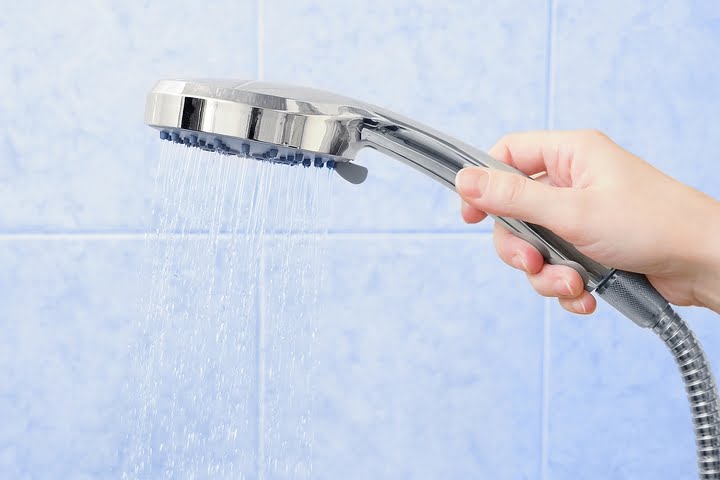
Every time you walk past the bathroom, you may hear trickling water droplets from a leaky shower head. The persistent sound of water dripping will echo throughout your home, which can get irritating very quickly. That’s why you should fix a leaky shower head as soon as it becomes a problem. Delaying the repairs will only lead to additional annoyance, along with wasted water and increased utility costs.
Fixing a leaky shower head can be complex, especially since the leaks may not originate from the shower head itself. Sometimes, there could be a problem with the faucet valve stem or the cartridge instead. Your best line of defence is to contact a residential plumber for help. The technician will troubleshoot any leakages and bring your shower into working order again.
If you are interested in the repair process, this guide teaches you how to fix a leaky shower head:
Step #1: Shut off the water supply
As with any plumbing repair project, you should turn off the water supply before fixing a leaky shower head. Check the bathroom for a shut-off valve, making sure it is closed properly. If you don’t see one, you’ll need to turn off the water to the entire house, which can be done through the main water shut-off valve.
After closing the shut-off valve, you may still see some water trickling out of the shower head. This is normal because there may be some residue water sitting within the shower lines. Just be patient and let the remaining water drain out from the shower head.
Step #2: Unclog the shower head

Sometimes, the shower head may leak for a short time after you turn off the water, but it eventually stops dripping. If this happens, the problem is probably attributed to your shower head. It is likely that your shower head has some lime and mineral buildup, which won’t let the water pass through quickly enough to drain. In other words, the holes in the shower head are clogged and will need to be cleared away.
To unclog, begin by removing the shower head and turning it in a counterclockwise position. This allows you to unscrew the shower head from the pipe attached to the wall. Next, inspect the shower head holes to see if they’re clogged with a white substance. If so, detach the front faceplate of the shower head and soak it in white vinegar for about eight hours.
Step #3: Replace the shower head washer
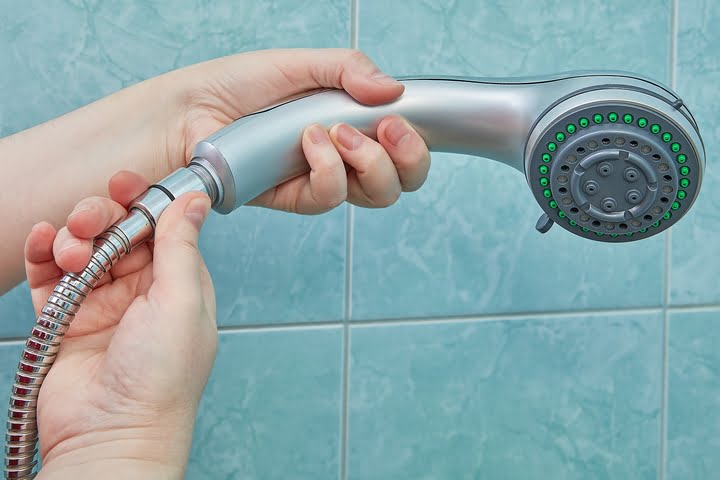
During this time, you should check out the rubber washer at the back of the shower head. Resembling a tiny rubber ring, the washer may have deteriorated in older showers. A worn-out washer affects the shower head’s overall efficiency and may contribute to the leaks. You should replace the old washer with an identical style, thickness, and size.
In a compression faucet or two-handle shower faucet, the rubber washers are located inside the faucets instead. If you have a two-valve system for hot and cold water, you can determine which valve is the issue by checking the temperature of the water leaks. Warm water means there’s a problem with the hot valve, while cool water means the problem is in the cold valve. Either way, it’s a good idea to replace the rubber washers on both sides, so you can avoid similar issues in the future.
Step #4: Replace the in-wall faucet valve
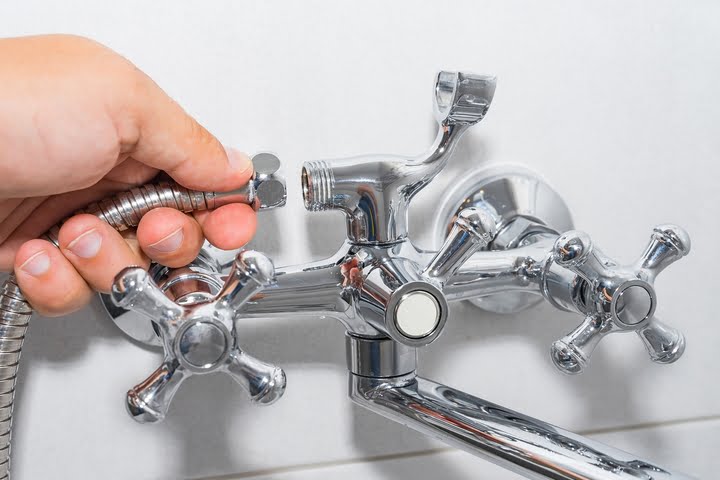
Sometimes, simply replacing the rubber washers won’t fix the leaky shower head. In more severe cases, you’ll need to replace the entire in-wall faucet valve unit. To do so, remove the handles and knobs. Then, remove the faceplates covering the valve and valve body. Next, unscrew the valve stem or cartridge. Bring this part to your local hardware store to find an identical replacement.
Along with the valve stem and cartridge, you should get a repair kit that has replacement parts for all washers, O-rings, and the valve seat. Before installation, clean the relevant areas with white vinegar and a toothbrush to remove any mineral buildup. Then, carefully reassemble the new faucet valve together. Upon a successful installation, your shower head won’t leak anymore.
Step #5: Check for shower head leaks
Once you’ve tried the above steps, turn on the water supply and run your shower for a minute. Then, turn it off and wait to see if the shower head leak still exists. If you fixed the issue, caulk around the baseplate to seal the unit to the wall, letting it dry for 12 to 24 hours.
In many cases, a leaky shower head can be fixed by unclogging the shower head, replacing the rubber washers, or replacing the valve stem. If the shower head is still leaking, your best option is to call a professional plumber. You may need more extensive plumbing repairs than you can manage on your own.